Welding duty cycle explained: Choose the right machine
Quick answer
Compare welding duty cycle only at the amperage, voltage, process, input power, and test conditions you will use. Then measure real arc-on time and include cooling, preparation, and future workload in the machine decision.
Common questions
- What does 40% duty cycle mean on a welder?
- Where the rating uses a 10-minute test period, 40% means four minutes of rated welding followed by the required cooling portion under the stated conditions. Confirm the manual because the full rating point matters.
- Does a welder have one duty-cycle rating?
- No. Duty cycle changes with output and may also differ by process, input voltage or phase, and specified test conditions. A headline percentage without its rating point is incomplete.
- Can thermal protection replace duty-cycle planning?
- No. Thermal protection is a safeguard, not a production timer. Repeated shutdowns mean the workload, setup, environment, maintenance, or machine capacity needs attention.
Source note: Reviewed against Miller and Hobart manufacturer guidance on August 6, 2026; the selected machine's rating plate and current manual remain controlling.
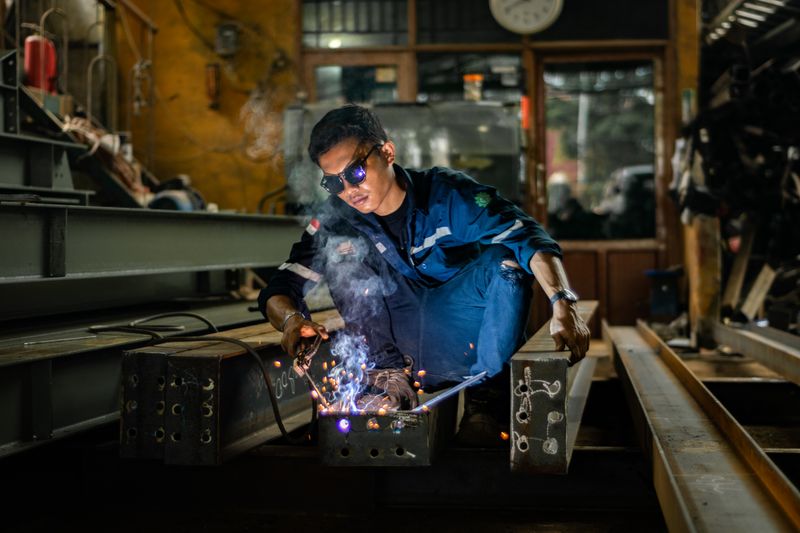
Welding duty cycle explained: Choose the right machine
Two welders can both advertise “60% duty cycle” and still have very different production capacity. One may deliver that percentage at 200 amps, another at 120 amps, and a third only on a different input connection. The percentage is meaningful only with its complete rating point.
Understanding welding duty cycle helps you choose equipment, estimate interruptions, and avoid treating thermal protection as a production plan. It also makes comparisons between dedicated and multi-process welders much more honest.
What welding duty cycle means
Duty cycle is the share of a stated test period during which a machine can weld at a specified output before it must cool as directed. In the common 10-minute format:
- 20% corresponds to 2 minutes at the rated output
- 40% corresponds to 4 minutes at the rated output
- 60% corresponds to 6 minutes at the rated output
- 100% supports the complete period at that rating point
The Miller duty-cycle guide illustrates a 30% rating at 215 amps and 240-volt input as three minutes of operation within a 10-minute period. That example does not mean every 30% machine is equivalent or that the same machine holds 30% at every setting.
Read the complete rating, not the headline
A usable comparison includes:
| Rating detail | Why it changes the decision |
|---|---|
| Process | MIG, flux-cored, stick, and TIG may have different ratings |
| Welding output | Higher amperage and voltage increase load on machine components |
| Input power | 120 V versus 240 V, or single-phase versus three-phase, may change available output |
| Test basis | The manual identifies the applicable rating method and period |
| Ambient/test conditions | Temperature and test assumptions affect heat rejection |
| Cooling requirement | Fan operation and the specified rest portion matter |
When a product page says “up to 100%,” find the chart or manual. The useful question is: What is the duty cycle at the output my WPS or job actually requires, on the power available at the site?
Amperage, voltage, and process all matter
A machine generates more internal heat as the demanded output rises. That is why a duty-cycle chart usually slopes toward shorter operating time at higher amperage. Voltage also contributes to welding power, so comparing amperage alone can hide a meaningful difference.
Process affects how that output is delivered. A power source may use different output ranges, controls, accessories, or internal components for MIG, stick, and TIG. Do not carry a MIG rating over to stick mode unless the manual explicitly supports it.
For a practical comparison, write down the required process, amperage, and voltage range before looking at machines. The MIG settings guide can help with starting ranges for non-code practice, while production work should use its qualified or approved procedure.
Input power can change the rating
Dual-voltage machines are convenient, but their output and duty-cycle curves may differ between 120- and 240-volt input. Confirm:
- Available voltage and phase
- Required branch-circuit capacity
- Plug, receptacle, and extension-cord restrictions
- Generator requirements for field work
- Duty-cycle chart for that exact input configuration
Do not buy from the 240-volt specifications if the job only provides 120 volts. For remote projects, compare those needs with the welding generator guide and verify the welder manufacturer’s generator compatibility requirements.
Test conditions are part of the specification
Duty cycle is established under defined conditions, not every possible shop or field environment. Read footnotes for ambient temperature, test standard, cooling state, input configuration, and any other limitation.
A hot, dusty enclosure with blocked vents will not reject heat like the specified test environment. High altitude, direct sun, long extension conductors, low input voltage, or restricted airflow may also affect real operation or require derating under the manual. Never invent a correction factor; use the manufacturer’s instructions.
The Hobart Toolmate 100 manual shows why the complete manual matters: it places duty cycle beside the unit specifications, volt-ampere curves, overload protection, and cooling instructions rather than presenting a percentage in isolation.
Thermal protection is a safeguard, not a timer
Many machines monitor temperature and suspend output when they overheat. If the thermal indicator comes on:
- Stop welding.
- Keep the unit positioned and powered as the manual directs so cooling can operate.
- Do not switch off a required cooling fan, block vents, or bypass protection.
- Resume only after the machine indicates that it is ready.
Frequent trips are evidence to investigate. The machine may be undersized for the work, vents may be obstructed, the fan may need qualified service, the ambient condition may exceed the rating, or the operator may be exceeding the stated output cycle.
Good welding equipment maintenance protects cooling performance, but maintenance cannot turn a light-duty machine into a production power source.
Measure real arc-on time before buying
Shop time is not the same as arc-on time. Fit-up, tacking, repositioning, cleaning, inspection, and consumable changes create natural cooling intervals. A home repair may rarely challenge a modest duty cycle, while a long flux-cored seam, hardfacing job, gouging operation, or automated cell can demand sustained output.
Time a representative job instead of guessing:
- Record the process and actual output range.
- Measure arc-on seconds during several 10-minute work windows.
- Note the longest continuous weld, not only the average.
- Repeat for the busiest realistic shift and hottest expected environment.
- Add capacity for future work rather than sizing at the exact observed limit.
If a welder is productive for 90 seconds, then spends four minutes fitting the next part, a lower rating may be acceptable. If the operator repeatedly lays long beads with minimal handling time, a higher rating at the required output can reduce forced stops.
A fair spec-sheet comparison
Suppose three machines advertise attractive percentages. Build a normalized table before deciding:
| Machine | Process | Required output point | Input | Duty cycle at that point |
|---|---|---|---|---|
| A | MIG | Your job’s amps and volts | Available site power | Manual value |
| B | MIG | Same amps and volts | Same input basis | Manual value |
| C | MIG | Same amps and volts | Same input basis | Manual value |
If a manufacturer does not publish a value at the required point, use its curve or request written technical data. Do not interpolate beyond the chart or compare Machine A at maximum output with Machine B at a much lower output.
Choose capacity around the job
Use this sequence for a buying or scheduling decision:
- Define the process and procedure output
- Confirm the site’s real input power
- Compare charts at the same output and conditions
- Measure realistic arc-on and continuous-weld time
- Include ambient heat, future workload, and maintenance access
- Price the lost time from cooling against the cost of more capacity
That last comparison belongs in a complete welding cost estimate. A less expensive machine can cost more if thermal interruptions repeatedly stop a paid operator and downstream work.
The key takeaway: never buy a duty-cycle percentage by itself. Buy enough duty cycle at the process, output, input power, and conditions your work requires—and verify all of it in the current manual before the machine reaches the job.
Sources

The Welder's Guide Editorial Team
Independent trade-focused editorial team