TIG tungsten selection, grinding, and replacement checklist
Quick answer
Select TIG tungsten by the actual electrode identification, process, polarity, machine guidance, and current range. Prepare it on dedicated equipment with lengthwise grind marks, control grinding dust, and remove contamination before welding resumes.
Common questions
- Which tungsten color should I use for TIG welding?
- Verify the color and package against the electrode manufacturer's identification, then use the TIG machine manual for the process, polarity, waveform, and current range. Do not identify a loose electrode by memory alone.
- Which direction should TIG tungsten be ground?
- Use dedicated preparation equipment and make grind lines parallel to the electrode's length. Circumferential or spiral scratches can contribute to an unstable arc.
- When should a TIG tungsten electrode be replaced?
- Remove it from service when contamination cannot be completely ground away, the electrode is cracked, split, badly eroded, undersized, mislabeled, or outside the manufacturer's usable condition.
Source note: Reviewed against current Miller tungsten guidance on August 6, 2026; the power-source, torch, and electrode manufacturer instructions control the setup.
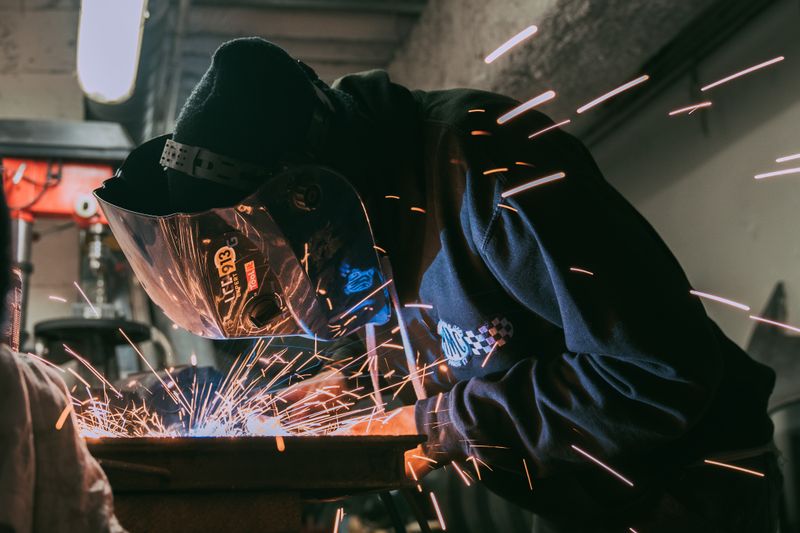
TIG tungsten selection, grinding, and replacement checklist
When a TIG arc wanders, starts poorly, or spits metal into an otherwise clean joint, the tungsten deserves an inspection before the settings get changed. Alloy, diameter, polarity, tip geometry, surface finish, and contamination all affect how the electrode carries current and shapes the arc.
If an electrode is already changing color, use the TIG tungsten black-or-gray diagnostic to separate post-flow oxidation, shielding loss, thermal overload, and contact contamination before selecting a replacement.
This is a shop-floor workflow for selecting, preparing, and replacing TIG tungsten without turning one color chart into a universal rule. If the job is specifically aluminum, use this checklist alongside the aluminum TIG guide, the current power-source manual, and the approved WPS.
1. Identify the electrode before choosing it
Start with the package label and electrode manufacturer’s documentation. Record:
- Alloy or classification
- Color identification
- Diameter and length
- Manufacturer and lot, when the quality plan requires traceability
- Any safety data or disposal instruction
Color is useful only when it is intact and interpreted under the applicable identification system. A ground-off end, mixed container, faded mark, or uncertain loose electrode is not a reliable basis for production welding. Segregate unidentified tungsten rather than guessing.
The Miller tungsten selection guide describes current common choices, including blue 2% lanthanated, gray 2% ceriated, white zirconiated, red thoriated, and rare-earth products. Use those examples as manufacturer guidance, not permission to relabel another supplier’s electrode.
2. Match alloy to process and machine
Choose tungsten only after confirming:
- Base material and required process
- AC or DC output and polarity
- Transformer or inverter power source and waveform features
- Starting method, such as high-frequency or lift arc
- Required amperage range and duration
- Applicable WPS and manufacturer recommendations
Modern inverter performance has changed some old habits. For example, a shop rule that assigns one electrode to every AC aluminum job may ignore the power-source manufacturer’s preferred alloy and tip preparation. Likewise, using thoriated tungsten because it was once the default can overlook newer alternatives and its additional health and disposal considerations.
For other process supplies that must be matched to a setup, the welding consumables guide explains why classification and compatibility matter more than what happens to be in the cabinet.
3. Select diameter from the actual current range
Diameter affects starting behavior, current capacity, and tip stability. A smaller electrode can start well at low current but may overheat at the top of a job’s range. A larger electrode may carry more current but perform poorly at the low end.
Do not rely on a universal internet chart. Check the current TIG machine manual and electrode data for the selected alloy, AC/DC mode, and waveform. Then consider the entire procedure range, including high-current starts, pulse peak current, and sustained arc time—not only the average setting.
Confirm the torch collet, collet body, gas lens or body, cup, and back cap also fit the chosen diameter. A correct electrode in mismatched torch hardware can clamp poorly or disturb shielding.
4. Create a dedicated preparation station
Tungsten should not share a wheel with carbon steel, aluminum, or general shop grinding. Embedded particles can return to the weld pool and defeat careful cleaning elsewhere.
The station should include:
- A grinder or sharpener dedicated to tungsten
- The wheel, belt, or disc specified for the task
- A suitable guard, work support, and dust collection method
- Eye and face protection plus any respiratory protection required by the hazard assessment
- Labeled clean and used-electrode containers
- A cutoff method that does not bend and snap the electrode
Place the station away from open consumables and clean assembly work. The broader welding safety essentials guide covers PPE and area controls, but the employer’s exposure assessment and the tungsten safety data determine the specific dust controls.
5. Cut and grind without creating new defects
If the electrode must be shortened, Miller recommends an abrasive cutoff method rather than bending or using wire cutters, which can create hidden fractures. Follow the tool and electrode instructions and keep hands clear of the wheel.
For tip preparation:
- Inspect the electrode for cracks, splits, deep contamination, or severe erosion.
- Hold it so the grinding scratches run parallel to the electrode centerline.
- Rotate it evenly to create a centered, symmetrical point.
- Use the included angle and tip flat called for by the machine, procedure, and electrode guidance.
- Clean the prepared electrode and store it where the tip cannot contact dirty surfaces.
Grinding around the circumference creates transverse or spiral marks that can destabilize the arc. An off-center point can aim the arc away from the electrode axis. Do not chase an exact angle from a generic chart when the job documents specify something else.
6. Set tip geometry for the application
Tip geometry affects arc shape. Miller notes an inverse relationship between point angle and arc behavior and recommends a small flat for some high-current work to reduce the chance of particles separating from the tip.
That does not make “sharp for DC, ball for AC” a complete modern rule. Power-source design, alloy, current, AC balance, waveform, and manufacturer instructions all matter. Start with the documented preparation, then confirm arc behavior on suitable practice material before a production joint.
For stainless jobs, combine correct tungsten preparation with the cleaning, purge, and heat-control practices in the stainless steel welding guide.
7. Recognize contamination early
Common contamination events include:
- Touching the tungsten to the molten puddle
- Contact between filler rod and hot tungsten
- Dipping the electrode into base metal
- Oxide or oil transferred from an inadequately cleaned joint
- Foreign material from a shared grinding wheel
- Loss of shielding that overheats or oxidizes the electrode
Possible cues are an unstable or wandering arc, difficult restarts, visible deposits, discoloration beyond the expected condition, splitting, nodules, or a changed tip shape. These clues are not all unique to tungsten, so also check shielding gas, torch assembly, work connection, and settings.
When a dip occurs, stop. Continuing to weld can move contamination from the electrode back into the joint.
8. Recondition or replace
Let the torch cool and remove the electrode according to the torch manual. Grind far enough behind the contaminated section to expose sound material; merely polishing the surface may leave contamination or a hidden crack. Recreate the required geometry at the dedicated station.
Replace the electrode when:
- Contamination or cracking remains after reasonable removal
- The electrode is too short for safe torch clamping and adjustment
- Diameter has been reduced outside the usable range
- The tip repeatedly splits, erodes, or sheds particles under a verified setup
- Identification has been lost
- The electrode has been mixed with incompatible or unknown material
Keep several verified, pre-ground electrodes in a clean container so a welder is not tempted to continue with a dirty one. Record recurring failures; repeated contamination may point to technique, gas coverage, torch cooling, or an incorrect selection rather than bad luck.
Control grinding dust and disposal
Collect dust at the source and clean the station without dry sweeping or compressed-air dispersal. Review the electrode safety data, especially for thoriated tungsten, and follow employer, local, state, and federal requirements for exposure control and waste disposal.
Do not place unidentified grindings or electrode stubs into an ordinary scrap bin by habit. Label the waste stream and use the facility’s approved disposal procedure.
Pre-weld tungsten checklist
Before striking the arc, verify:
- Package, alloy/color, diameter, and lot are known
- The machine manual and WPS support the selection
- Diameter covers the actual AC/DC and current range
- Torch components match the electrode
- The point is centered with lengthwise grind marks
- No crack, split, deposit, or handling contamination is visible
- Clean spares are available at the work area
- Dust and used electrodes have a controlled disposal path
The key takeaway: TIG tungsten is part of the welding procedure, not a generic sharpened rod. Verify its identity, use the machine’s real operating range, prepare it on dedicated equipment, and remove contamination before the next arc.
Source

The Welder's Guide Editorial Team
Independent trade-focused editorial team