Mill-scale removal before welding: Methods and decisions
Quick answer
Remove mill scale when the WPS, process, joint, inspection criteria, coating system, or scale condition requires it. Choose an abrasive that removes the oxide without gouging the steel, control grinding hazards, and verify the complete weld zone before welding.
Common questions
- Do you always have to remove mill scale before welding?
- No universal rule requires bare bright metal for every process and joint. Follow the WPS, consumable and equipment guidance, inspection criteria, joint demands, and coating specification. Removal is prudent when scale could impair fusion, arc stability, inspection, or coating adhesion.
- Can a wire wheel remove mill scale?
- A wire wheel can remove loose oxide and debris, but heavy, tightly bonded scale often needs a more aggressive coated, bonded, or mill-scale-specific abrasive. Brushing can polish scale without fully removing it.
- What is the best grinder disc for mill scale?
- The best choice depends on scale thickness, access, required speed, surface-control needs, and base-metal preservation. Test the least aggressive effective method and follow the tool and abrasive ratings.
Source note: Reviewed against current Weiler Abrasives mill-scale guidance on August 6, 2026; the WPS, contract, coating specification, and applicable code determine acceptance.
Mill-scale removal before welding: Methods and decisions
Mill scale is not just “dirt.” It is a hard iron-oxide layer formed on hot-rolled steel, and its thickness and adhesion can vary across the same plate. Some welding processes and procedures tolerate limited scale; other joints need it completely removed from the weld zone.
The practical question is not “Does every weld need shiny steel?” It is: Could this scale interfere with the approved procedure, fusion, inspection, or final coating? Use the decision and method comparison below instead of applying one prep rule to every job.
When mill scale matters most
Start with the controlling documents. A WPS, fabrication code, contract, drawing note, consumable data sheet, coating specification, or inspection plan may state the required surface condition. If it does, follow that requirement.
Removal deserves particular attention when:
- The WPS or client specification requires a clean weld zone
- The joint has tight access, a root opening, bevel, or fusion face where oxide can be trapped
- The selected process, transfer mode, or parameters are sensitive to surface condition
- Scale is thick, flaky, uneven, rusty, oily, painted, or contaminated
- Visual or nondestructive examination needs a clean surface
- A coating must bond to the nearby steel after welding
- A qualification coupon or critical joint needs repeatable preparation
The welding joint types guide shows why a square lap joint and a full-penetration groove do not present the same access or fusion demands.
When full bright-metal prep may not be required
Some qualified procedures, consumables, and applications can weld through sound, limited mill scale. That does not mean all scale is acceptable. Confirm:
- The procedure permits the actual surface condition
- Scale is adherent and consistent rather than lifting or contaminated
- Trial welds and required inspection meet acceptance criteria
- The work connection has clean metal-to-metal contact
- The final coating system does not require broader removal
Do not turn one successful tack into a general rule. If arc behavior changes across the plate, scale thickness or contamination may be part of the variation.
Define the weld-prep zone
Mark the joint edges, bevels, root faces, backing contact areas, work-clamp location, and the required distance on both sides of the seam. Use the WPS or specification for width; there is no universal number that fits every process, joint, or coating.
Remove oil, solvent residue, paint, moisture, marking compounds, and loose rust through an approved cleaning method before abrasive work. Grinding through unknown coatings can create hazardous dust and smear contaminants into the surface.
If poor prep has already contributed to a discontinuity, use the common welding defects guide to distinguish lack of fusion from penetration, porosity, and other causes.
Compare mill-scale removal methods
The Weiler mill-scale removal guide compares blasting, chemical methods, coated abrasives, bonded abrasives, and mill-scale-specific wheels. For most repair and fabrication shops, the decision is among grinder-mounted options.
| Method | Relative action | Surface control | Best fit |
|---|---|---|---|
| Wire wheel or brush | Light | High | Loose oxide, debris, final cleaning |
| Flap disc | Moderate | High | Controlled removal and blending |
| Resin-fiber disc | Moderate to aggressive | High with correct technique | General plate preparation |
| Grinding wheel | Aggressive | Lower | Heavy, stubborn scale and edges |
| Mill-scale-specific wheel | Purpose-designed | High | Larger prepared areas with base-metal control |
| Blasting | Broad-area | Process-dependent | Production or large components |
| Chemical removal | Process-dependent | High | Controlled facility applications with waste handling |
These are selection tendencies, not operating instructions. Abrasive design, grit, tool speed, pressure, angle, and steel condition determine actual performance.
Wire wheels: cleaning is not always removal
A powered wire brush is useful for loose rust, flakes, slag, and debris. On tightly bonded heavy scale, it may burnish the surface and make it look uniform without exposing steel.
Inspect under good light. If the blue-black oxide remains continuous, switch to a method designed to cut the scale. Use the wire type approved for the base material and keep stainless-only tools segregated to avoid cross-contamination.
Flap and fiber discs: control near joint details
Coated abrasives can remove scale while giving the operator more feel than a hard grinding wheel. They are useful near bevels, thin edges, corners, and surfaces where gouging would affect fit-up.
Keep the disc moving and use the manufacturer’s working angle and pressure. Excess pressure generates heat, dulls abrasive grain, increases fatigue, and can remove base metal after the scale breaks through. Change a glazed or damaged disc instead of pushing harder.
For thin or distortion-sensitive work, pair careful prep with the heat-control practices in the thin sheet metal welding guide.
Grinding wheels: fast but easy to overdo
A bonded grinding wheel can break through thick scale quickly and works well on edges or small stubborn areas. Its aggressive action can also dish a plate, round a root face, alter a bevel, thin an edge, or leave deep scratches.
Use the least aggressive effective wheel, maintain the specified angle, and stop as soon as the oxide is gone. Do not use the side of a wheel unless it is designed and labeled for side grinding. Recheck joint dimensions after preparation.
Preserve the base metal and joint geometry
Mill scale is harder than the steel beneath it, so the tool can suddenly begin cutting faster after it penetrates the oxide. Reduce pressure as clean steel appears.
Watch for:
- Gouges or sharp notches
- Rounded bevel toes or root faces
- Thinned edges
- Low spots that change fit-up
- Embedded abrasive or smeared coating
- Excessive heat discoloration
If preparation changes a dimension beyond tolerance, obtain the required disposition rather than filling the damage with weld metal by default.
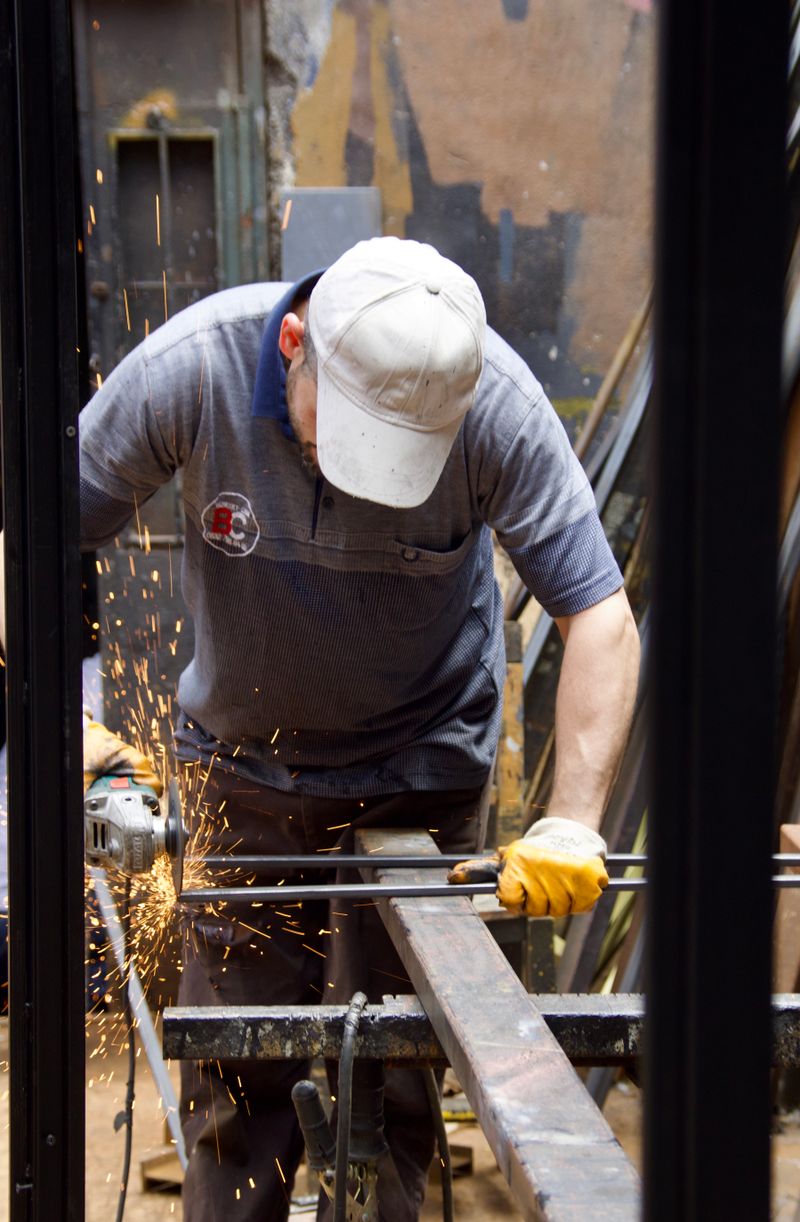
Control grinder dust, sparks, and wheel hazards
Before grinding:
- Identify coatings and contaminants through labels, SDSs, and the site procedure.
- Inspect the grinder, guard, handle, flanges, cord or battery, and abrasive.
- Confirm tool speed does not exceed the abrasive’s maximum rated speed.
- Wear the eye, face, hearing, hand, clothing, and respiratory protection required by the hazard assessment.
- Direct sparks away from people, cylinders, hoses, glass, vehicles, and combustibles.
- Use extraction or collection suitable for the dust and ignition risk.
- Secure the work and maintain two-handed tool control.
Grinding is hot work at many sites. When required, use the hot-work permit and fire-watch checklist before the wheel starts, not after sparks find a hidden combustible.
Never grind a metal or coating whose identity and hazards are unknown. Do not use compressed air to spread collected dust through the shop.
Verify prep before welding
After abrasive work, vacuum or remove residue by the approved method and inspect the complete zone. A ready surface should meet the specified condition without loose scale, grinding debris, oil, moisture, or unacceptable gouging.
Use a clean light and straightedge or profile gauge where the joint requires it. Verify:
- Both faces and edges are prepared to the required width
- Root face, bevel angle, and fit-up remain within tolerance
- The work-clamp location is clean
- Abrasive dust is removed from crevices and backing interfaces
- No coating or scale remains where inspection or the WPS prohibits it
- Prepared steel has not rusted again before welding
The MIG setup guide covers the next steps for work connection and initial parameters once the joint is ready.
Method-selection shortcut
- Use a wire brush for loose material and final cleaning, not as proof that heavy scale is gone.
- Use a flap or fiber disc when surface control and geometry preservation are priorities.
- Use a grinding wheel for heavy scale where aggressive removal can be controlled.
- Consider a mill-scale wheel or blasting for larger production areas.
- Use chemical methods only under a controlled process for handling, neutralization, and waste.
Test the least aggressive practical option on representative material, inspect the result, and standardize the method that meets the procedure efficiently.
The key takeaway: mill-scale removal is a procedure decision followed by a tool-selection decision. Remove what the joint, process, inspection, and coating system require—then stop before preparation damages the steel you intended to weld.
Source

The Welder's Guide Editorial Team
Independent trade-focused editorial team