Some links on this site are affiliate links. We may earn a commission at no cost to you. Learn more.
How to Set Up a MIG Welder: Step-by-Step Guide
How to Set Up a MIG Welder: Step-by-Step Guide
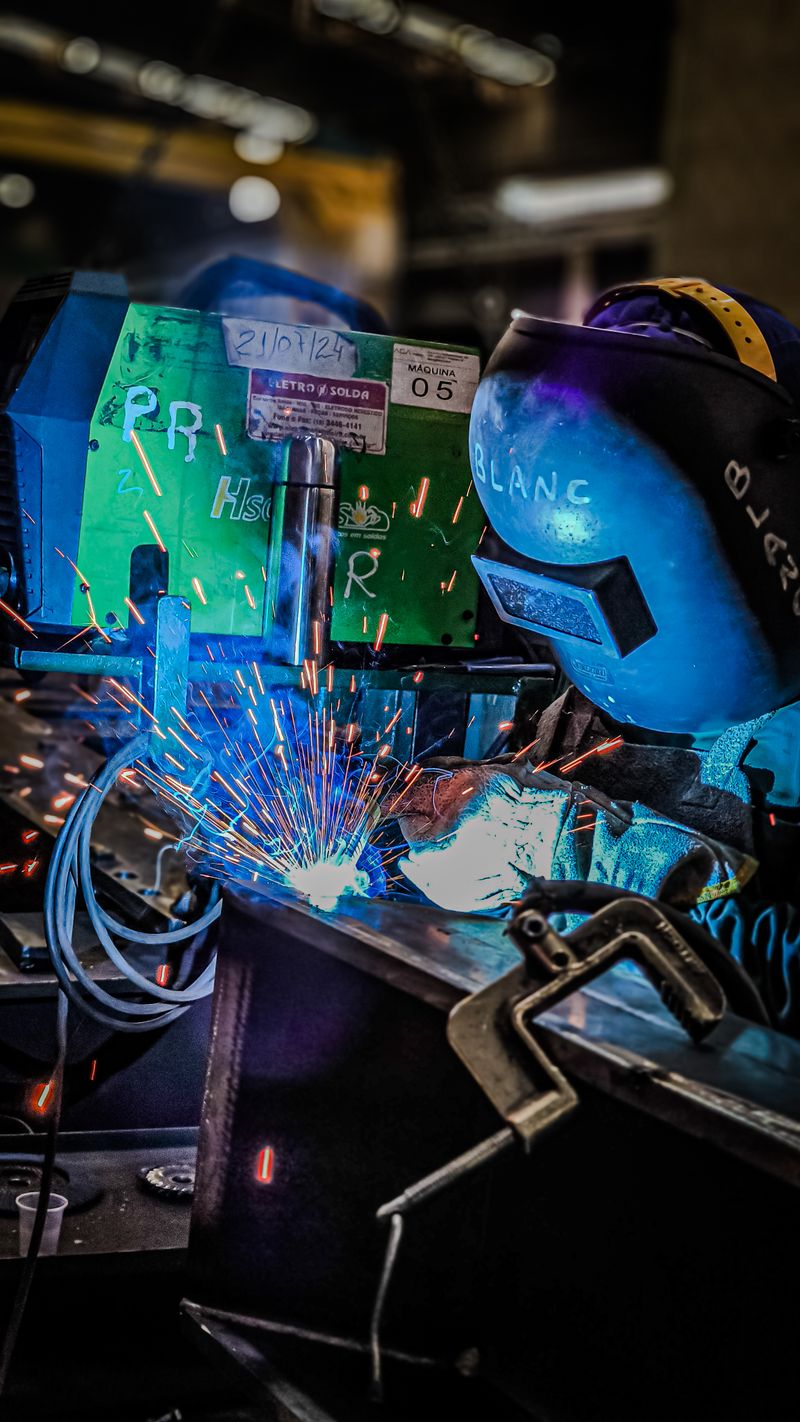
Setting up a MIG welder correctly is the foundation for producing clean, strong welds. A misconfigured machine leads to poor penetration, excessive spatter, and frustrating results — especially for beginners. This guide walks you through every step, from installing the wire to tuning your settings for the perfect weld.
What You Will Need
Before starting, gather these essentials:
- MIG welder (gas-shielded or flux-cored capable)
- Welding wire (match to your base metal)
- Shielding gas cylinder (75/25 Argon/CO2 for mild steel)
- Wire cutters or side cutters
- Welding gloves and helmet
- Clean scrap metal for test welds
If you need a reliable machine to start with, the Hobart Handler 210MVP is a proven choice that handles both 115V and 230V power.
Step 1: Install the Wire Spool
Start by opening the wire feed compartment on your welder. Follow these steps:
- Release the tension arm on the spool holder and remove any existing spool.
- Slide the new wire spool onto the spindle. The wire should unwind from the bottom of the spool, feeding toward the drive rolls.
- Secure the spool with the retaining nut or clip so it cannot slide off during operation.
- Snip the wire that was taped to the spool, being careful not to let it uncoil and tangle.
Make sure you are using the correct wire type for your project. ER70S-6 is the standard solid wire for mild steel. For aluminum, use ER4043 or ER5356 with a spool gun.
Step 2: Feed the Wire Through the Drive System
This is where many beginners run into trouble. Proper wire feeding prevents bird-nesting and inconsistent arcs.
- Check the drive roll size — Your drive rolls must match your wire diameter. Most MIG welders use 0.030-inch or 0.035-inch wire. Using the wrong groove causes slipping or crushing.
- Thread the wire — Insert the wire into the inlet guide tube, over the drive roll, and into the outlet tube leading to the liner. Keep the wire straight and avoid kinks.
- Set the drive roll tension — Tighten the tension knob until the wire feeds smoothly without slipping. A good test: pinch the wire at the contact tip and trigger the feeder. The drive rolls should slip slightly rather than crushing the wire into the liner.
- Trim excess wire to about 1/4 inch past the contact tip using your wire cutters.
Step 3: Connect the Shielding Gas
Shielding gas protects the molten weld pool from atmospheric contamination, preventing porosity and weak welds.
- Secure the gas cylinder to your welder cart or a wall bracket using a chain or strap. Never leave a cylinder standing unsecured.
- Install the regulator — Remove the cylinder cap, crack the valve open briefly to blow out debris, then thread the regulator onto the cylinder valve. Tighten with a wrench.
- Connect the gas hose from the regulator to the back of your welder.
- Set the flow rate — Open the cylinder valve slowly, then adjust the regulator to 20-25 cubic feet per hour (CFH). Too much gas wastes money; too little causes porous welds.
For mild steel, a 75% Argon / 25% CO2 blend (commonly called C25) produces the best results. Pure CO2 is cheaper but creates more spatter.
Step 4: Set Voltage and Wire Feed Speed
Voltage and wire feed speed (WFS) are the two primary controls on any MIG welder. They must be balanced for your material thickness.
Starting Settings for Mild Steel
| Material Thickness | Wire Diameter | Voltage | Wire Feed Speed |
|---|---|---|---|
| 18 gauge (0.048”) | 0.030” | 15-16V | 130-150 ipm |
| 16 gauge (0.060”) | 0.030” | 16-17V | 150-170 ipm |
| 1/8” | 0.030” | 17-18V | 170-200 ipm |
| 3/16” | 0.035” | 18-19V | 180-220 ipm |
| 1/4” | 0.035” | 19-21V | 220-280 ipm |
These are starting points. Always test on scrap metal and adjust from there.
How to Fine-Tune Your Settings
- If the weld sounds like frying bacon — You are in the right range for short-circuit transfer.
- If the wire is stubbing or pushing back — Increase voltage or decrease WFS.
- If the arc is violent with excessive spatter — Decrease voltage or increase WFS slightly.
- If the bead is tall and narrow — Increase voltage to flatten the profile.
Step 5: Set the Polarity
For solid wire with shielding gas, your welder must be set to DCEP (Direct Current Electrode Positive), also called reverse polarity. This means the wire is positive and the work clamp is negative.
If you are running flux-cored wire (FCAW), switch to DCEN (Direct Current Electrode Negative) or straight polarity. Check your wire manufacturer’s recommendation, as some self-shielded flux-cored wires require DCEN.
Most machines have a quick-change polarity terminal inside the wire compartment. Loosen the nuts, swap the cables, and retighten.
Step 6: Prepare the Workpiece and Ground Clamp
A clean workpiece and a solid ground connection are non-negotiable for quality MIG welds.
- Remove paint, rust, oil, and mill scale from the weld area using a grinder or wire wheel. MIG welding is sensitive to contamination.
- Clamp your ground to clean, bare metal as close to the weld joint as possible. A poor ground causes erratic arcs and inconsistent penetration.
- Fit and tack the joint before running a full weld bead. This prevents distortion and keeps gaps consistent.
A good magnetic ground clamp can make grounding easier on irregular surfaces.
Step 7: Practice on Scrap Metal
Before welding your actual project, run several practice beads on scrap of the same thickness. Pay attention to:
- Travel speed — Move at a pace that keeps the weld pool about 1/4 to 3/8 inch wide. Too fast and the bead is thin and ropey. Too slow and you risk burn-through.
- Gun angle — Hold the MIG gun at a 10-15 degree push angle (tilted in the direction of travel) for better gas coverage.
- Stick-out — Maintain 1/4 to 3/8 inch of wire between the contact tip and the workpiece. Too much stick-out reduces arc stability.
- Contact tip to work distance (CTWD) — Keep this consistent for uniform welds.
Troubleshooting Common Setup Issues
| Problem | Likely Cause | Solution |
|---|---|---|
| Wire bird-nests at drive rolls | Drive tension too loose or liner worn | Tighten tension; replace liner |
| Porous weld with holes | Insufficient gas flow or leak | Check flow rate; inspect hoses |
| Excessive spatter | Voltage too low or wrong gas | Increase voltage; verify C25 blend |
| Burn-through on thin metal | Voltage too high | Lower voltage; use tack welds |
| Wire feeds but no arc | Bad ground connection | Clean ground point; check clamp |
Routine Maintenance Tips
A well-maintained MIG welder runs better and lasts longer. After every few hours of welding:
- Trim 1/2 inch of wire to expose a fresh tip.
- Clean spatter from the nozzle and contact tip with nozzle gel.
- Check the liner for wear and replace it if wire feeding becomes erratic.
- Inspect gas hoses for leaks using a soapy water solution.
- Wipe down the drive rolls and remove any dust or wire debris.
Final Thoughts
Setting up a MIG welder takes patience, but doing it right from the start saves hours of frustration. Once your machine is dialed in, MIG welding becomes one of the most efficient and enjoyable processes to use. Take the time to practice, adjust, and refine your settings on scrap metal before moving to your actual project.
Related Articles
Your shielding gas choice has a major impact on how a MIG welder performs after setup — the understanding welding shielding gases guide explains why C25 (75/25 argon/CO₂) is the standard for mild steel and how gas selection affects spatter, penetration, and transfer mode. Once your machine is running, understanding common defects will help you interpret what your welds are telling you — the common welding defects and how to fix them guide maps symptoms like porosity and undercut back to specific setup issues. If you are deciding whether MIG is the right process for your work, the MIG vs TIG vs stick welding comparison breaks down the tradeoffs across all three main processes.

Frank Ciervo
Certified Welder & Founder of The Welder's Guide
Get our free Welding Safety Checklist — delivered to your inbox.
No spam. Unsubscribe anytime.
Recommended Product
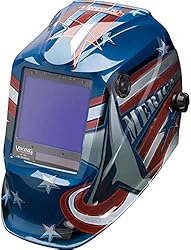
Lincoln Electric Viking 3350 Auto-Darkening Helmet
A premium auto-darkening welding helmet with 1/1/1/1 optical clarity, 4C lens technology, and a wide viewing area. Comfortable for all-day use.
- ✓ 4C lens technology
- ✓ 1/1/1/1 optical clarity
- ✓ Wide 12.5 sq in view
- ✓ Grind mode
As an Amazon Associate, we earn from qualifying purchases.
Get Your Free Welding Safety Checklist
Join thousands of readers. Expert tips and guides delivered to your inbox — no spam, ever.
No spam. Unsubscribe anytime. View our Privacy Policy.
Affiliate Disclosure
Some of the links on this page are affiliate links. If you click on one of these links and make a purchase, we may receive a small commission at no additional cost to you. This helps support our site and allows us to continue providing free content.
We only recommend products we believe in. All opinions are our own. We are a participant in the Amazon Services LLC Associates Program, an affiliate advertising program designed to provide a means for us to earn fees by linking to Amazon.com and affiliated sites.