Why does my welding rod keep sticking?
Quick answer
A stick welding rod usually sticks because the arc is not established or cannot stay stable. Common causes are amperage below the electrode manufacturer's range, holding an arc that is too short, a poor work connection, the wrong polarity or electrode size, damaged electrodes, weak input power, or incorrect machine-specific hot-start and arc-force settings. Separate sticking at startup from sticking during the bead, restore the documented setup, and test one cause at a time.
How to troubleshoot a stick welding rod that keeps sticking
Separate startup sticking from in-bead sticking and check the stick-welding circuit in a controlled order.
1. Stop and make the setup safe
Follow the machine manual and workplace procedure. If a stuck electrode will not release promptly, shut off welding output or input power before removal.
2. Record when the rod sticks
Determine whether it sticks on first contact, after the arc starts, during a restart, or only after the equipment warms up.
3. Restore the documented baseline
Verify process, polarity, electrode classification and diameter, current range, lead connections, and input-power requirements from the exact documentation.
4. Check the work connection
Attach the work clamp firmly to clean bare metal through a sound current path and inspect accessible leads and connectors for damage.
5. Test current and technique separately
On a practice coupon, make one permitted current change or one arc-start technique change at a time, then restore the baseline after a failed test.
6. Inspect the electrode
Replace damaged, contaminated, or incorrectly stored electrodes according to the manufacturer and procedure; clear a restart slag cap by the approved method.
7. Escalate equipment faults
Stop using equipment with damaged insulation, overheating connections, intermittent output, or suspected internal faults and send it to qualified service personnel.
Common questions
- Why does my welding rod stick as soon as it touches the metal?
- The rod can freeze before an arc forms when the starting motion is too slow, the selected current is too low for that electrode, the work connection has excessive resistance, or the machine lacks enough input or arc-start performance. Check the electrode and machine instructions before changing settings.
- Should I turn up the amps when a welding rod keeps sticking?
- Only if the present setting is below the electrode manufacturer's range or a controlled test within that range supports the change. Excessive current can overheat the electrode, increase spatter, undercut the joint, or burn through thin material.
- Why does a 7018 welding rod keep sticking?
- Possible causes include a slow restart over the slag cap, current outside the manufacturer's range, an arc held too short, incorrect polarity, a poor work connection, unsuitable machine response, or a damaged or improperly stored electrode. Use the exact 7018 product data and approved procedure.
- Can a bad ground make a welding rod stick?
- A loose, dirty, undersized, damaged, or poorly placed work connection can make the arc difficult to start and unstable. The preferred term is work connection, because the welding-current return path is not always the same as the equipment grounding conductor.
Source note: Reviewed October 2, 2026 against current Miller stick-welding guidance and terminology, Lincoln Electric equipment documentation, and OSHA arc-welding requirements. The exact power-source manual, electrode data sheet, WPS, and workplace safety program control a specific setup.
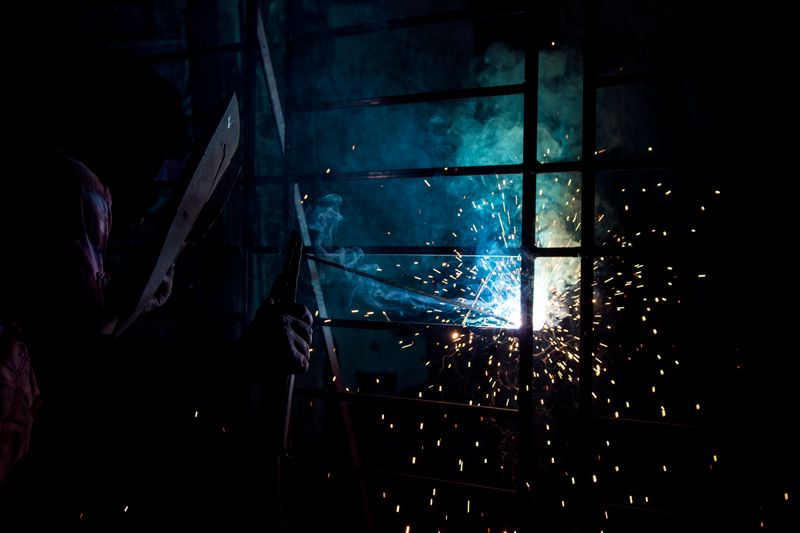
Why does my welding rod keep sticking?
A stick welding rod sticks when the electrode touches the work and the arc does not establish or stay stable. Low current is one possible cause, but it is not the only one. A very short arc, a poor work connection, the wrong electrode size or polarity, a damaged rod, inadequate input power, or the machine’s arc-start behavior can feel almost identical.
First note when it sticks. An electrode that freezes on first contact calls for a different first check than one that runs for two inches and then dives into the puddle. Use this ordered diagnosis instead of changing several settings at once.
If the rod is stuck right now
Do not grab the bare electrode or touch the holder jaws and workpiece at the same time. A stick electrode is electrically live on many machines whenever output is enabled, and a prolonged short circuit can heat the rod and holder quickly.
Follow the power-source manual’s release procedure. If the rod will not detach promptly with the permitted holder movement, switch off welding output or input power before removing it. Let hot parts cool, replace flux-damaged electrode sections as directed, and inspect the holder before restarting.
Use the helmet shade, safety glasses, gloves, flame-resistant clothing, screens, ventilation, and fire controls required by the hazard assessment. The welding safety essentials and hot-work permit checklist cover the larger work area, but the applicable workplace program controls the job.
Match the sticking pattern to the first check
| What happens | Check first | Why |
|---|---|---|
| Rod freezes on the first touch | Starting motion, selected current, work connection | The arc never becomes stable |
| Arc starts, then rod sticks in the bead | Arc length, hand travel, current | The tip may be driven into the puddle or the arc may collapse |
| Used rod sticks on restart | Slag cap and exposed core wire | Flux can form a glassy cap over the end |
| One electrode size sticks but a smaller one runs | Machine output and documented current range | The larger electrode may exceed the useful setup |
| Sticking begins after longer welds | Duty cycle, hot leads/connections, input supply | The machine may be limiting output or a connection may be deteriorating |
| Only one electrode type sticks | Polarity, electrode condition, machine characteristics | Electrode requirements and arc behavior differ |
This table identifies the next test, not a final diagnosis. Do not approve a weld from arc feel or appearance alone.
1. Rebuild the documented baseline
Record the power source and electrode product, electrode diameter, current type and polarity, amperage, hot-start or arc-force value, lead length, welding position, and base-metal thickness. Then compare them with the exact machine manual, electrode data sheet, and approved welding procedure specification (WPS).
The electrode classification guide helps decode labels such as E6011 and E7018, but a classification is not a universal setting. Product instructions determine usable current, polarity, storage, and application limits.
Confirm the machine is in SMAW or stick mode. Do not copy a polarity or amperage number from another welder without checking whether it applies to the same electrode, diameter, joint, position, and power source.
2. Prove the work-current path
OSHA requires welding connections to be mechanically strong and electrically adequate. Attach the work clamp firmly to clean, bare metal, as close to the test area as practical while maintaining the required safe current path. Remove paint, scale, rust, or spatter from the contact point by an approved method.
Inspect accessible electrode and work leads, plugs, lugs, and the insulated holder. Look for loose connections, damaged insulation, exposed conductors, heat discoloration, or an underrated component. Spread out coiled cable as the equipment instructions require; never wrap welding cable around your body.
Stop if a connector overheats, output cuts in and out, insulation is damaged, or the holder cannot grip the electrode securely. These are service problems, not technique practice. The welding equipment maintenance guide provides a preventive inspection path.
3. Check amperage without simply turning it up
Compare the set current with the range printed for the exact electrode. If it is below that range, increase it in a small permitted increment and retest on representative scrap. If it is already within range, test arc length, connection quality, and technique before adding more heat.
Too little current can make the arc hard to start, create a tall bead, and encourage sticking. Too much can overheat the electrode, increase spatter, flatten the bead, cause undercut, or burn through thin material. A rod that is too large for the work or machine may not be fixed by forcing the dial higher; choose a suitable electrode diameter or process instead.
4. Separate arc-start technique from running technique
Use the scratch or tap start described by the machine and electrode manufacturer. The essential action is brief contact followed by an immediate lift to establish the arc. Once it starts, settle into the specified arc length rather than continuing to lift away or pushing the rod into the plate.
During the bead, remember that the electrode is becoming shorter. Feed your hand toward the joint while traveling so the tip-to-work distance remains steady. Miller notes that an arc held too close can become erratic, extinguish, and freeze the electrode to the work.
Practice starts and short beads on clean scrap in a comfortable position before moving to a joint. The stick welding guide for beginners covers body position, travel angle, and basic bead practice.
5. Inspect the electrode and restart tip
Check that the rod is straight, dry, uncontaminated, and suitable for the job. Reject electrodes with cracked or missing flux, rusted core wire, oil, or storage damage under the applicable procedure.
After stopping, some electrodes develop a slag cap over the exposed core. Remove it only by the electrode manufacturer’s approved restart method. Do not repeatedly hammer the tip against the work, because broken flux can expose excess core wire and make the next start less predictable.
Low-hydrogen electrodes require controlled handling. Do not improvise with a kitchen oven or assume every damp rod can be restored. Use the manufacturer’s limits and the project’s consumable-control procedure; see the E7018 storage guide for the decision points.
6. Verify polarity and machine controls
Electrode labels and data sheets specify AC, DC electrode positive, DC electrode negative, or permitted combinations. The wrong polarity can produce poor arc behavior even when the amperage display looks reasonable.
Some inverters provide hot start, arc force/dig, or anti-stick. Miller describes Hot Start as a stick-welding arc-start aid and Arc-Drive as a feature that helps prevent the arc from going out. Exact hot-start, arc-force/dig, and anti-stick behavior is machine-specific. Restore factory or procedure values, then adjust only as the exact manual permits. A setting that helps one electrode can make another arc harsh or increase spatter.
7. Rule out input-power and equipment limits
Verify that the branch circuit, plug, adapter, extension cable, generator, and input-voltage selection meet the welder manual and electrical rules. An undersized or overly long extension cord can contribute to voltage drop. Do not bypass overcurrent protection or alter premises wiring; have a qualified electrician correct supply problems.
Also check the machine’s rated output and duty cycle. If the fault appears only after extended welding or a thermal indicator illuminates, stop and let the unit follow its specified cooling cycle. Never remove covers or probe live components unless you are qualified and the service documentation authorizes it.
A controlled five-bead test
Use clean, representative practice steel and keep the joint, position, and electrode batch constant.
- Run the documented baseline and record whether sticking occurs at start or in the bead.
- Clean and relocate the work connection, then repeat.
- Restore the baseline and change current by one permitted increment.
- Restore it again and test only the manufacturer-approved arc-start motion.
- Try a verified electrode from proper storage without changing another variable.
Record arc starts, interruptions, bead shape, spatter, and slag behavior. The weld defect glossary worksheet can organize observations, but it is not an inspection or qualification record.
Next step: prove the correction before production
Once the electrode starts reliably, make a fresh practice weld using the complete documented setup. Inspect and test it to the acceptance criteria required for the job. Reliable arc starts do not prove penetration, fusion, soundness, or code compliance.
For structural, pressure, vehicle, lifting, or other failure-critical work, use an approved WPS and qualified personnel. If the rod still sticks after the external setup checks, or if cables, the holder, input supply, or power source behave intermittently, stop and send the equipment to qualified service.
Sources and scope
- Miller: Five steps to improving stick welding technique
- Miller welding dictionary: Hot Start and Arc-Drive terminology
- Lincoln Electric Power Arc 5000 operator’s manual and electrode selection guide
- OSHA 29 CFR 1910.254: Arc welding and cutting
- OSHA 29 CFR 1910.252: General welding, cutting, and brazing requirements
Manufacturer instructions, electrode data, procedures, and safety requirements can change. Use the current documents for the exact equipment, consumable, worksite, material, and jurisdiction.
Continue the stick-welding diagnosis
Connect reliable arc starts to electrode selection, equipment condition, safe practice, and documented weld evaluation.
- Stick welding tips for beginners
Practice starts, arc length, travel angle, and bead control after correcting the setup.
- Understand electrode classifications
Decode electrode labels before choosing polarity, diameter, and application.
- E7018 storage guide
Keep low-hydrogen handling inside the manufacturer and project requirements.
- Maintain welding equipment
Inspect holders, leads, connections, and the power source before blaming technique.
- Welding safety essentials
Review electrical, fume, PPE, and fire controls for stick-welding practice.
- Open the weld defect worksheet
Record controlled tests and visible results without treating notes as qualified inspection.

The Welder's Guide Editorial Team
Independent trade-focused editorial team