Some links on this site are affiliate links. We may earn a commission at no cost to you. Learn more.
Stick Welding Tips for Beginners: Getting Started with SMAW
Stick Welding Tips for Beginners: Getting Started with SMAW
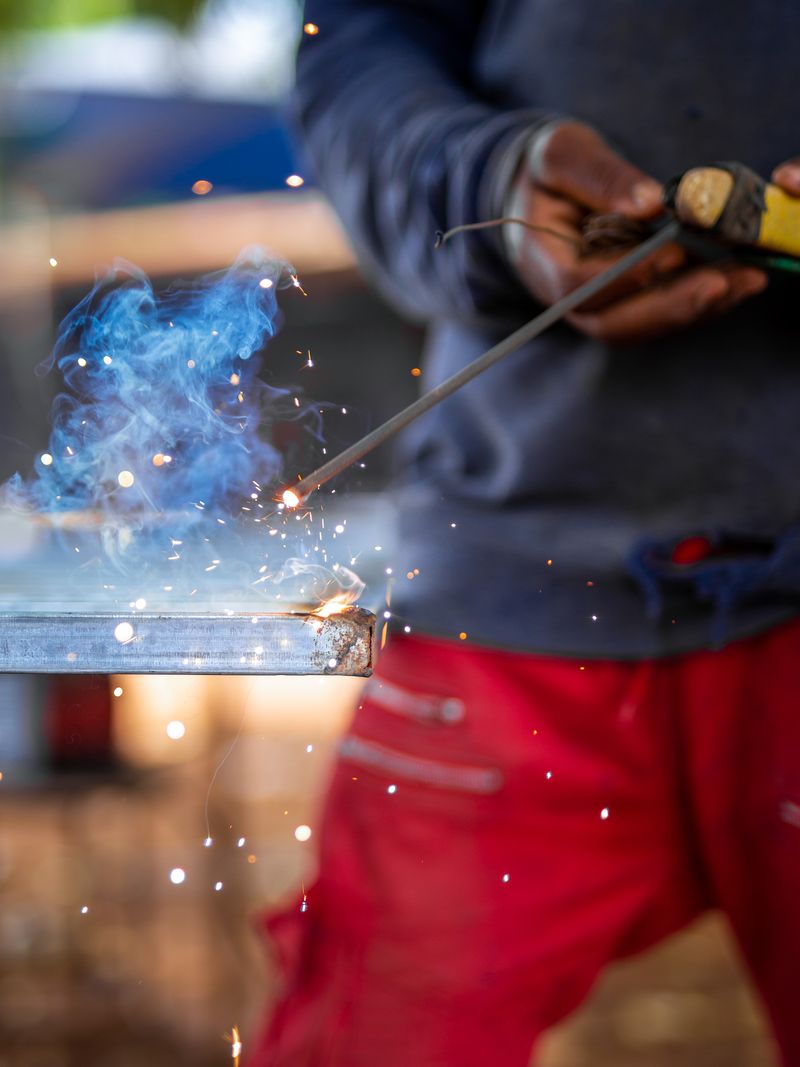
Stick welding, formally known as Shielded Metal Arc Welding (SMAW), is where most professional welders start their careers. It teaches fundamental arc control, builds hand-eye coordination, and works in conditions where other processes fail. While it has a steeper learning curve than MIG welding, mastering stick welding opens doors to construction, pipeline, shipbuilding, and maintenance welding jobs.
This guide gives you the practical tips you need to get started and improve quickly.
Why Start with Stick Welding?
- Affordable entry — A basic stick welder costs less than $200, with no gas cylinder or wire feeder required.
- Works anywhere — No shielding gas means no wind issues. Weld outdoors, in the field, or in a drafty shop.
- Forgiving on dirty metal — Stick electrodes burn through rust, paint, and mill scale better than MIG or TIG.
- Career opportunities — Most structural welding certifications require SMAW proficiency.
The Lincoln Electric Weld Pak 100 and Forney Easy Weld 100DS are two affordable stick welders that are perfect for learning.
Understanding Stick Welding Electrodes
Electrodes are classified by a four- or five-digit code defined by the American Welding Society. The most important numbers to understand:
E6010 and E6011 — Deep Penetration Electrodes
- E6010 — Runs on DC only. Excellent for root passes on pipe and welding through rust and paint. The arc is aggressive and penetrating.
- E6011 — Similar to 6010 but runs on both AC and DC. More accessible for beginners with AC-only machines.
- Characteristics: Deep penetration, aggressive arc, freezes quickly, flat bead profile
- Best for: Dirty metal, root passes, outdoor repairs
E6013 — The Beginner-Friendly Electrode
- Characteristics: Medium penetration, stable arc, smooth bead appearance, easy to strike and restrike
- Best for: Sheet metal, light fabrication, beginner practice, and general-purpose repairs
- Why beginners love it: The soft arc is forgiving, and the slag peels easily. If you are just starting, buy a box of 6013 in 1/8” diameter and practice running beads.
E7018 — The Structural Electrode
- Characteristics: Low hydrogen, medium penetration, smooth and strong welds, requires clean metal
- Best for: Structural steel, pressure vessels, critical welds, and passing certification tests
- Important: E7018 is moisture-sensitive. Store opened electrodes in a rod oven at 250°F to prevent hydrogen cracking. Never use E7018 that has been exposed to humid air for more than a few hours without reconditioning.
E7024 — The High-Deposition Electrode
- Characteristics: Very smooth bead, high deposition rate, runs only in flat and horizontal positions
- Best for: Heavy fill passes, flat welding on thick plate
- Note: Not suitable for vertical or overhead welding
Amperage Settings by Electrode
Use these ranges as starting points and fine-tune based on your results:
| Electrode | Diameter | Amperage Range |
|---|---|---|
| E6010 | 1/8” | 75-125 amps |
| E6011 | 1/8” | 75-125 amps |
| E6013 | 1/8” | 90-150 amps |
| E7018 | 1/8” | 100-160 amps |
| E6010 | 3/32” | 50-85 amps |
| E6013 | 3/32” | 60-100 amps |
| E7018 | 3/32” | 70-115 amps |
| E7018 | 5/32” | 140-220 amps |
When in doubt, start at the middle of the range and adjust. Too high causes excessive spatter and a flat, wide bead. Too low causes stubbing and poor penetration.
How to Strike an Arc
Striking an arc is the first skill every stick welder must master. There are two methods:
The Scratch Start
- Hold the electrode holder (stinger) with a relaxed grip.
- Position the electrode tip near the starting point at about 75-80 degrees from the plate surface.
- Flick the electrode across the surface like striking a match — a quick, light scratching motion.
- Once the arc ignites, immediately lift the electrode slightly to maintain an arc length equal to the electrode diameter.
- If the electrode sticks, quickly rock it sideways to break free. Do not hold it — the electrode will weld itself to the plate.
The Tap Start
- Hold the electrode perpendicular to the work surface.
- Tap the tip straight down and immediately lift 1/8 inch.
- This method is faster but requires more precise timing.
Common Arc-Striking Problems
- Electrode sticks repeatedly — Amperage is too low or you are not lifting fast enough.
- Arc goes out immediately — You lifted too far. Keep the arc length to about one electrode diameter.
- Cannot start at all — Check ground connection, clean the contact point, and verify amperage.
Controlling the Arc Length
Arc length is the distance between the electrode tip and the workpiece. For stick welding, maintain an arc length equal to the electrode diameter.
- Too short — The electrode stubs into the work, extinguishing the arc and causing inclusions.
- Too long — The arc becomes unstable, produces excessive spatter, and loses penetration.
- Just right — A steady crackling sound (like frying bacon) with consistent puddle control.
As the electrode burns down, you must continuously lower your hand to maintain the correct arc length. This is one of the trickiest aspects for beginners to learn.
Travel Speed and Angle
Travel Angle
- Flat and horizontal — Use a 5-15 degree drag angle (electrode tilted back in the direction of travel).
- Vertical up — Use a slight push angle and weave pattern.
- Overhead — Keep a short arc and a slight drag angle.
Travel Speed
Your travel speed determines bead shape and penetration:
- Too fast — Narrow, convex bead with inadequate penetration. The weld rope sits on top of the metal.
- Too slow — Wide, flat bead with excessive penetration. Risk of burn-through on thinner material.
- Just right — A uniform bead that is slightly wider than the electrode diameter with a smooth ripple pattern.
A good practice exercise: draw a straight line with soapstone on a clean steel plate and try to follow it while maintaining a consistent bead width.
Weaving Techniques
For wider joints or multiple-pass welds, you need to weave the electrode side to side:
- Stringer bead — No weave. Travel straight along the joint. Used for root passes and narrow joints.
- Zigzag weave — Move the electrode in a Z pattern across the joint. Pause briefly at each toe for fusion. Most common for fill passes.
- Crescent weave — Move in a C-shaped arc. Produces a smoother bead appearance.
- Triangle weave — Pause at three points (two toes and the center). Good for vertical-up welding.
Important: Never weave wider than 2.5 times the electrode diameter. Oversized weaves trap slag and create weak welds.
Slag Removal
Slag is the brittle, glass-like coating that forms over the weld bead as the flux burns. It must be completely removed between passes and after the final pass.
- Wait for the weld to cool slightly — the slag should darken and begin to curl at the edges.
- Use a chipping hammer to knock off the bulk of the slag. Strike at a shallow angle along the bead.
- Follow with a wire brush to remove remaining residue.
- Inspect the weld — any remaining slag appears as dark patches in the bead valleys. Remove these completely before welding over them.
A chipping hammer with wire brush is an essential tool for any stick welder.
Practice Exercises for Beginners
Exercise 1: Running Straight Beads
Lay 6-8 inch beads on a flat plate using E6013 at 1/8 inch. Focus on maintaining consistent arc length and travel speed. Your goal is a uniform bead width and ripple pattern from start to finish.
Exercise 2: Restarting Beads
Practice stopping and restarting your weld. Undercut the existing weld crater slightly with the electrode, then restart 1/2 inch ahead of the crater and weld back over it. This prevents cold lap at the restart point.
Exercise 3: T-Joint Fillet Welds
Set up two pieces of steel in a T configuration. Run fillet welds on both sides. Focus on equal leg size and proper fusion at the toes. A properly sized fillet weld should have roughly equal legs and a flat to slightly convex face.
Exercise 4: Vertical Welding
Start with vertical-down (easier) using E6013, then progress to vertical-up using E7018. Vertical-up requires a weave pattern and slower travel speed. Pause at the sides to ensure toe fusion.
Common Beginner Mistakes
- Not cleaning the metal — Even though stick welding tolerates some contamination, a wire brush over the weld zone improves results dramatically.
- Wrong amperage — If the electrode sticks constantly or the bead looks terrible, check your amperage before changing anything else.
- Arc too long — The most common beginner error. Keep it tight.
- Removing slag incorrectly — Never grind slag off. Always chip it. Grinding can embed slag particles into the weld metal.
- Skipping the ground — A poor ground connection causes more problems than almost anything else. Clamp to clean, bare metal close to the weld.
Building Your Skills
Once you can run consistent beads on flat plate, progress through these challenges in order:
- Flat fillet welds (T-joints)
- Horizontal fillet welds
- Vertical-down welds
- Vertical-up welds
- Overhead welds
- Pipe welding (fixed position 2G, then 5G, then 6G)
Each position builds on the skills from the previous one. Do not move on until you are producing acceptable welds in your current position.
Final Thoughts
Stick welding rewards patience and practice more than any other process. The skills you develop — arc control, travel speed judgment, and electrode manipulation — transfer to every other welding process. Start with E6013 on flat plate, learn to read your weld bead, and gradually work through the positions. With consistent practice, you can reach a certification-ready skill level within 3-6 months.
Related Articles
Understanding the electrode code system in depth helps you move beyond the basics — the understanding welding electrode classifications guide decodes every digit in designations like E7018 and E6013 so you can choose the right rod for any application. As your skills improve, the welding position guide explains the 1G through 6G system and the technique adjustments each out-of-position weld requires. When you are ready to compare stick welding to other processes, the MIG vs TIG vs stick welding comparison helps you understand where each process excels and how they can complement each other.

Frank Ciervo
Certified Welder & Founder of The Welder's Guide
Get our free Welding Safety Checklist — delivered to your inbox.
No spam. Unsubscribe anytime.
Recommended Product
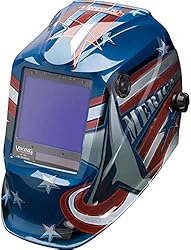
Lincoln Electric Viking 3350 Auto-Darkening Helmet
A premium auto-darkening welding helmet with 1/1/1/1 optical clarity, 4C lens technology, and a wide viewing area. Comfortable for all-day use.
- ✓ 4C lens technology
- ✓ 1/1/1/1 optical clarity
- ✓ Wide 12.5 sq in view
- ✓ Grind mode
As an Amazon Associate, we earn from qualifying purchases.
Get Your Free Welding Safety Checklist
Join thousands of readers. Expert tips and guides delivered to your inbox — no spam, ever.
No spam. Unsubscribe anytime. View our Privacy Policy.
Affiliate Disclosure
Some of the links on this page are affiliate links. If you click on one of these links and make a purchase, we may receive a small commission at no additional cost to you. This helps support our site and allows us to continue providing free content.
We only recommend products we believe in. All opinions are our own. We are a participant in the Amazon Services LLC Associates Program, an affiliate advertising program designed to provide a means for us to earn fees by linking to Amazon.com and affiliated sites.