Some links on this site are affiliate links. We may earn a commission at no cost to you. Learn more.
How to Weld Cast Iron: Techniques, Rods, and Preheating
How to Weld Cast Iron: Techniques, Rods, and Preheating
Cast iron is one of the most challenging materials to weld. Its high carbon content — typically 2–4% — makes it brittle and prone to cracking when heat is applied and removed unevenly. Yet welding cast iron is a routine task for welders repairing engine blocks, manifolds, machine bases, and antique cookware.
The good news: with the right preparation, electrode selection, and cooling process, cast iron welding is entirely achievable. This guide covers everything you need to succeed.
Why Cast Iron Is Difficult to Weld
Cast iron behaves differently from mild steel in three critical ways:
- High carbon content — Carbon migrates into the heat-affected zone (HAZ) during welding, creating hard, brittle martensite that cracks easily.
- Low ductility — Cast iron cannot flex or stretch to accommodate thermal stress. Any rapid temperature change creates internal stress that exceeds the material’s tensile strength.
- Porosity and inclusions — Many cast iron parts contain graphite flakes, oils, and impurities that contaminate the weld pool and cause porosity.
Understanding these characteristics informs every decision you make when welding cast iron.
Assess the Cast Iron First
Not all cast iron is the same. Before welding, identify the type:
- Gray cast iron — The most common type. Contains graphite flakes. Weldable with proper technique.
- White cast iron — Extremely hard and brittle. Practically unweldable by fusion welding. Brazing may be a better option.
- Ductile (nodular) iron — More weldable than gray cast iron. Graphite is in nodular form, which reduces brittleness.
- Malleable cast iron — Can be welded, but heat treatment requirements are complex.
If you cannot identify the type, do a spark test: gray cast iron produces a dull red spark with few branches, while steel produces bright, branching sparks.
Tools and Materials You Will Need
- Stick welder capable of DC output
- Nickel-based electrodes (ENiFe-CI or ENi-CI)
- Propane or oxy-acetylene torch for preheating
- Temperature-indicating sticks or infrared thermometer
- Welding blanket or vermiculite for slow cooling
- Angle grinder with grinding and flap discs
- Chipping hammer and wire brush
- Safety equipment: gloves, helmet, respirator
The Lincoln Electric Excalibur ENiFe-CI electrode is the industry standard for cast iron repair. A quality infrared thermometer is essential for monitoring preheat temperatures.
Electrode Selection for Cast Iron
ENi-CI (Pure Nickel Electrodes)
- Best for: Highly machinable deposits, thin sections, and cosmetic repairs
- Characteristics: Produces a soft, machinable weld deposit. Very low thermal expansion, which reduces cracking risk.
- Downside: More expensive. Slower deposition rate.
ENiFe-CI (Nickel-Iron Electrodes)
- Best for: Heavy sections, structural repairs, and when strength is critical
- Characteristics: Stronger than pure nickel deposits. Better suited for thick cast iron sections. Still machinable.
- Most common choice for general cast iron welding.
ENiCu-B (Nickel-Copper Electrodes)
- Best for: Welding cast iron to copper alloys or some stainless steels
- Use case: Dissimilar metal repairs only
Avoid mild steel electrodes (E6013, E7018) on cast iron. The dilution of high-carbon cast iron into a low-carbon electrode creates a hard, brittle interface that will crack.
The Preheating Process
Preheating is the single most important step in cast iron welding. It reduces the thermal gradient between the weld zone and the surrounding metal, minimizing cracking risk.
Preheat Temperature Guidelines
| Cast Iron Thickness | Minimum Preheat Temperature |
|---|---|
| Under 1/4 inch | 200–300°F (93–149°C) |
| 1/4 to 1/2 inch | 300–500°F (149–260°C) |
| 1/2 to 1 inch | 400–600°F (204–316°C) |
| Over 1 inch | 500–700°F (260–371°C) |
For critical repairs (engine blocks, pressure-bearing components), preheat to 700°F (370°C) throughout.
How to Preheat
- Place the part on firebricks or a welding table to allow even heat distribution.
- Use an oxy-acetylene torch or propane weed burner. Move the flame slowly and evenly across the entire casting — not just the repair area.
- Check temperature with a temperature stick or infrared thermometer. Do not rely on color changes alone — cast iron barely changes color at proper preheat temperatures.
- Allow soak time — once the surface reaches temperature, allow 5–10 minutes for heat to penetrate to the center of thick sections.
Surface Preparation
Cast iron absorbs oils over decades of service. These oils contaminate welds and cause porosity.
- Grind the repair area down to clean, shiny metal. Remove all paint, rust, and scale.
- Heat the area with a torch before welding. A brief heating to 500°F burns off trapped oils and drives out moisture. You may see smoke as oils evaporate — this is normal.
- Brush clean with a wire brush while still hot.
- Bevel deep cracks with a grinder — create a V-groove at least 3/16 inch deep. Drill stop-holes at the ends of cracks to prevent propagation.
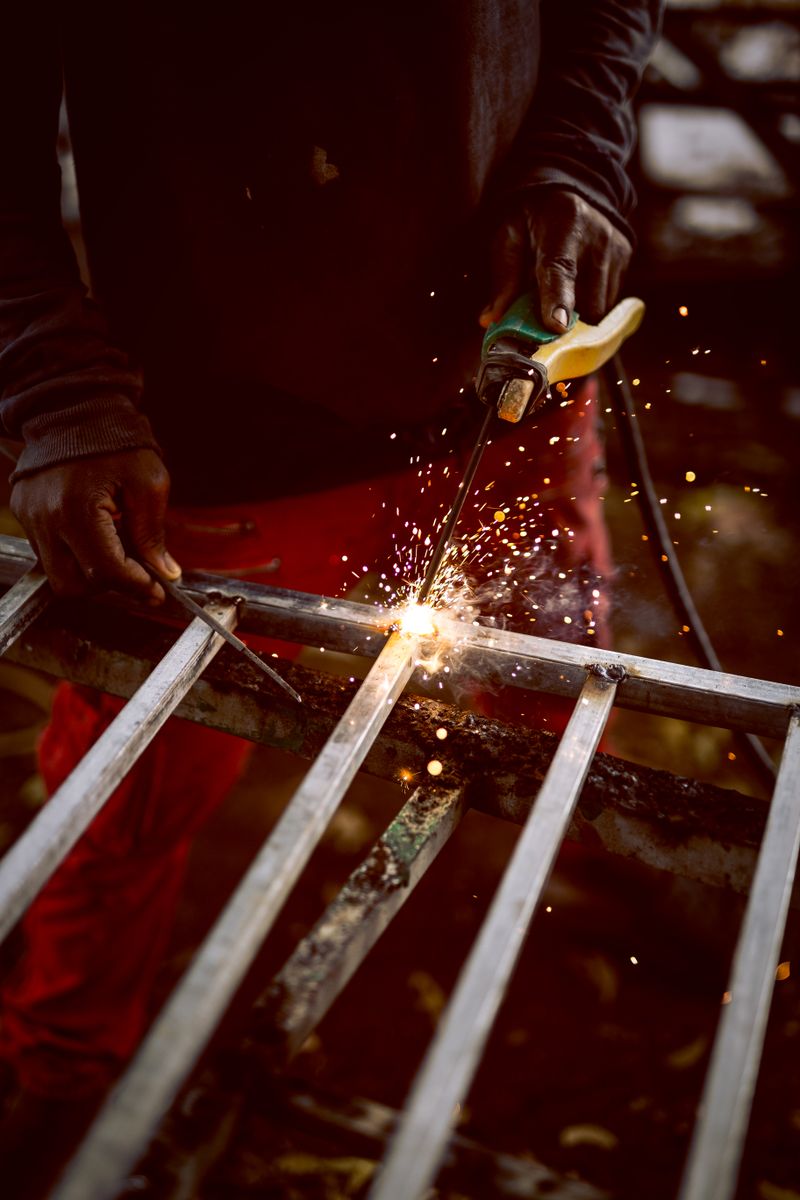
Welding Technique: Short Bead Method
The short bead method is standard practice for cast iron welding. It limits heat input and gives the metal time to stabilize between passes.
Step-by-Step Process
- Set amperage low — Use the minimum amperage that allows a stable arc. For 1/8-inch ENiFe-CI, start at 90–110 amps. You want low heat input.
- Weld short beads — Run stringer beads no longer than 1–2 inches at a time.
- Peen immediately — As soon as you finish a short bead, use a ball-peen hammer to lightly peen the hot weld metal. This compresses the weld bead and relieves thermal stress before the metal cools and contracts. Work quickly while the bead is still red/orange.
- Allow partial cooling — Let the weld area cool to 300–400°F (check with a temperature stick) before running the next bead.
- Chip and brush — Remove slag completely before depositing the next pass.
- Maintain interpass temperature — Do not let the casting cool below your minimum preheat temperature between passes.
- Alternate bead direction — On long repairs, alternate which end you start from to distribute heat evenly.
Backstep Welding
For long cracks or joints, use the backstep technique: divide the joint into 1-2 inch segments and weld from right to left (if right-handed), but deposit each segment from left to right within that zone. This reduces distortion and stress concentration.
Peening: Why It Matters
Peening is often skipped by inexperienced welders — and that is why their cast iron repairs crack.
When weld metal cools and solidifies, it shrinks. This contraction creates tensile stress in the weld and the surrounding HAZ. Peening with a hammer while the metal is still hot works-hardens the weld bead and compensates for shrinkage by plastically deforming the material in compression.
Peening technique:
- Use a ball-peen hammer with moderate, rapid blows
- Work across the entire bead length immediately after welding
- Do not peen welds that have cooled below red heat — you will crack them instead of helping
Slow Cooling: The Final Critical Step
After completing all welds and returning the part to full preheat temperature, slow cooling is essential.
Never allow cast iron welds to cool rapidly. Rapid cooling causes thermal shock, which cracks the casting — even after a perfect weld.
Slow Cooling Methods
- Bury in dry sand or vermiculite — Place the casting in a bucket or box filled with dry sand or vermiculite. Cover completely. Leave undisturbed for 24–48 hours.
- Wrap in a welding blanket — For large castings that cannot be buried, wrap tightly with ceramic fiber welding blankets immediately after welding.
- Furnace cooling — For industrial repairs, place the casting in a furnace set to preheat temperature and allow the furnace to power down naturally.
- Do not use water — Never quench cast iron. Even misting with water will crack a freshly welded casting.
The Midwest Hearth Vermiculite is an affordable and effective slow-cooling medium for most cast iron repairs.
Post-Weld Inspection and Machining
Once the casting has fully cooled to room temperature:
- Visual inspection — Check for surface cracks. Run a magnet over the repair — cracks will sometimes be visible as dark lines.
- Dye penetrant test — For critical repairs, apply dye penetrant and developer to reveal any surface cracks. Magnaflux dye penetrant kits are available for shop use.
- Grind flush — Use a flap disc to grind the weld flush with the casting surface.
- Machine as needed — Nickel-based weld deposits are machinable with carbide tooling. Use sharp inserts, low feeds, and moderate speeds.
Common Cast Iron Welding Problems and Solutions
| Problem | Cause | Solution |
|---|---|---|
| Cracking during welding | Insufficient preheat or too-rapid cooling | Increase preheat, use short beads, peen |
| Cracking after cooling | Cooling too fast | Use vermiculite or blanket slow cooling |
| Porosity in the weld | Oil contamination | Burn off oils, clean thoroughly before welding |
| Hard, unmachineable deposit | Wrong electrode (mild steel) | Use ENi-CI or ENiFe-CI electrodes only |
| Arc instability | Wet electrodes | Store in a rod oven; use fresh electrodes |
When to Braze Instead of Weld
For some cast iron repairs, brazing is a better option than fusion welding:
- Thin sections where distortion from welding heat is a concern
- White cast iron that is too brittle to fusion weld
- Cookware and decorative castings where appearance matters and structural loads are low
- Parts that cannot be preheated adequately
Bronze brazing rod and a oxy-acetylene torch can create strong cast iron repairs without the thermal shock risk of arc welding.
Final Thoughts
Welding cast iron successfully comes down to three things: proper preheat, correct electrode selection, and slow cooling. Skip any of these, and you will get cracks. Follow all three, and even severely damaged castings — cracked engine blocks, broken machine vises, antique cookware — can be restored to full service.
The Lincoln Electric Excalibur ENiFe-CI electrodes paired with a quality preheating torch give you everything you need to succeed on cast iron repairs.

The Welder's Guide Team
Certified Welder & Founder of The Welder's Guide
Get our free Welding Safety Checklist — delivered to your inbox.
No spam. Unsubscribe anytime.
Recommended Product
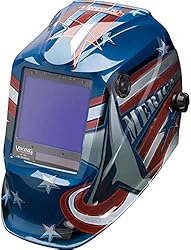
Lincoln Electric Viking 3350 Auto-Darkening Helmet
A premium auto-darkening welding helmet with 1/1/1/1 optical clarity, 4C lens technology, and a wide viewing area. Comfortable for all-day use.
- ✓ 4C lens technology
- ✓ 1/1/1/1 optical clarity
- ✓ Wide 12.5 sq in view
- ✓ Grind mode
As an Amazon Associate, we earn from qualifying purchases.
Get Your Free Welding Safety Checklist
Join thousands of readers. Expert tips and guides delivered to your inbox — no spam, ever.
No spam. Unsubscribe anytime. View our Privacy Policy.
Affiliate Disclosure
Some of the links on this page are affiliate links. If you click on one of these links and make a purchase, we may receive a small commission at no additional cost to you. This helps support our site and allows us to continue providing free content.
We only recommend products we believe in. All opinions are our own. We are a participant in the Amazon Services LLC Associates Program, an affiliate advertising program designed to provide a means for us to earn fees by linking to Amazon.com and affiliated sites.